
A few weeks ago I was lucky enough to attend a photography lesson with a professional photographer. The night was focussed on being able to take amazing photographs if we ever visit the Northern Lights but (sadly) we couldn't get to Norway or Iceland for a couple of hours so we headed to Canton in Cardiff. I've never turned my Nikon D3200 off auto mode (how embarrassing is that?) so I was keen to get stuck in and learn as much as possible in our evening session.
Simon the photographer taught us lots of useful information about what a DSLR’s manual settings can do and I'm going to put what I learn to use this Halloween and bonfire night and on my trip to Budapest.
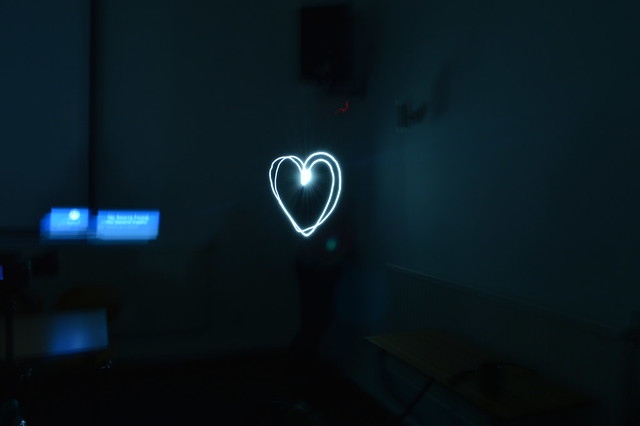
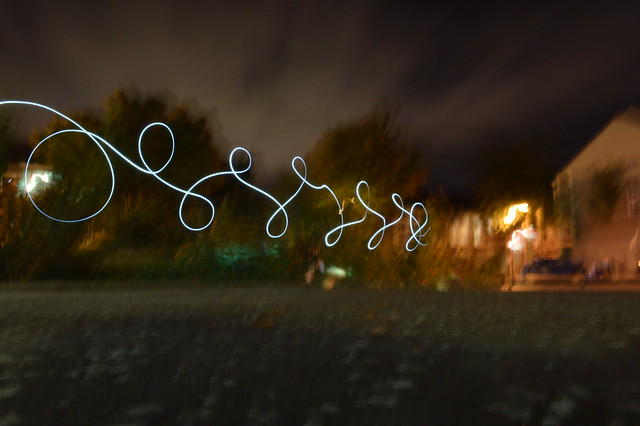
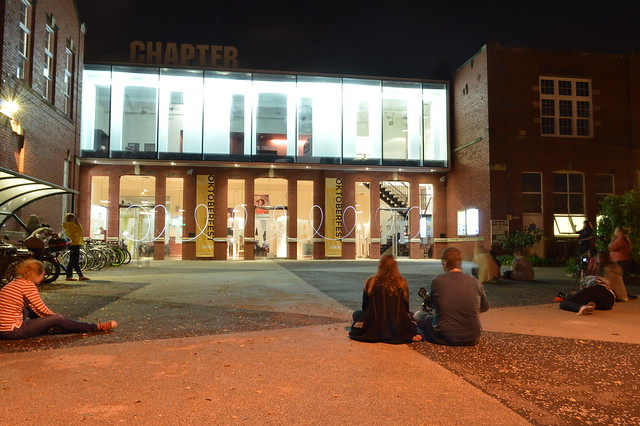
I wasn't 100% successful on the night but here are some of the photos I took on the night with my new skills:
Simon the photographer taught us lots of useful information about what a DSLR’s manual settings can do and I'm going to put what I learn to use this Halloween and bonfire night and on my trip to Budapest.
I wasn't 100% successful on the night but here are some of the photos I took on the night with my new skills:
SHUTTER PRIORITY (S/TV)
Ideal for freezing or capturing motion.
Shutter speed is how long the camera’s shutter is open. The higher the number, the faster the shutter speed will be. Photos taken at night require a slower shutter speed so more light can get in.
Shutter speed is how long the camera’s shutter is open. The higher the number, the faster the shutter speed will be. Photos taken at night require a slower shutter speed so more light can get in.
Shutter Priority
A rough guide to shutter speeds
1/4000 - 1/2000 will stop the wings of a hummingbird
1/1000 - 1/500 will freeze an athlete running
1/250 - 1/60 will stop everyday motion
1/30 - 1/8 will blur motion
0.5 - 30” will capture low light, motion and long exposures
APERTURE PRIORITY (A/AV)
Ideal for ‘everything in focus’ shots or blurry backgrounds.
The aperture also controls the amount of light reaching the sensor. So, at f2.8, more light gets in and at f22, less light gets in. The aperture controls the depth of field, so the wider the aperture
The aperture also controls the amount of light reaching the sensor. So, at f2.8, more light gets in and at f22, less light gets in. The aperture controls the depth of field, so the wider the aperture
(smaller number, i.e. f2.8), the less is in focus, whereas the smaller the aperture (bigger number, i.e. f22), the more is in focus.
MANUAL SETTING (M)
Gives you FULL control of ISO, Shutter Speed and Depth of Field
ISO affects Noise/Grain
Aperture affects Depth of Field
If you don't have a tripod use objects around you to balance your camera on and reduce shaking. This could be a wall, a bin, the floor etc. Be inventive.
Don't take the obvious photos and plan ahead. People don't always take photos of where they are staying or what the journey is like. Everyone has seen photos of the Northern Lights but might also like to see what the lodge is like where you stay whilst on the trip.
Don't take the obvious photos and plan ahead. People don't always take photos of where they are staying or what the journey is like. Everyone has seen photos of the Northern Lights but might also like to see what the lodge is like where you stay whilst on the trip.
Thank you to Transun for providing this photography session, hopefully I will be able to visit the Northern Lights and put my new skills to the test one day. If you want to read their post about the evening head over to their blog.


3 comments
Ahh I so wanted to go to this! I'd love to learn more about night photography, I'm slowly educating myself about my DSLR and I can get some pretty night pictures for my blog but I'd love to know the ins and outs of my camera! Sheri - www.flowersandfreckles.com
ReplyDeleteI must admit my bf's camera I have never taken its off automatic even my person camera I don't think I can hack it just yet. You photos are not bad at all
ReplyDeleteReally interesting read! I love photography, but I am so awful at playing with the settings on my camera. It gets so confusing!
ReplyDelete// Oh Dollymix
Thank you for leaving a comment, feel free to ask me any questions here or on twitter- @Gemma_DS.